The Samurai From Hell...
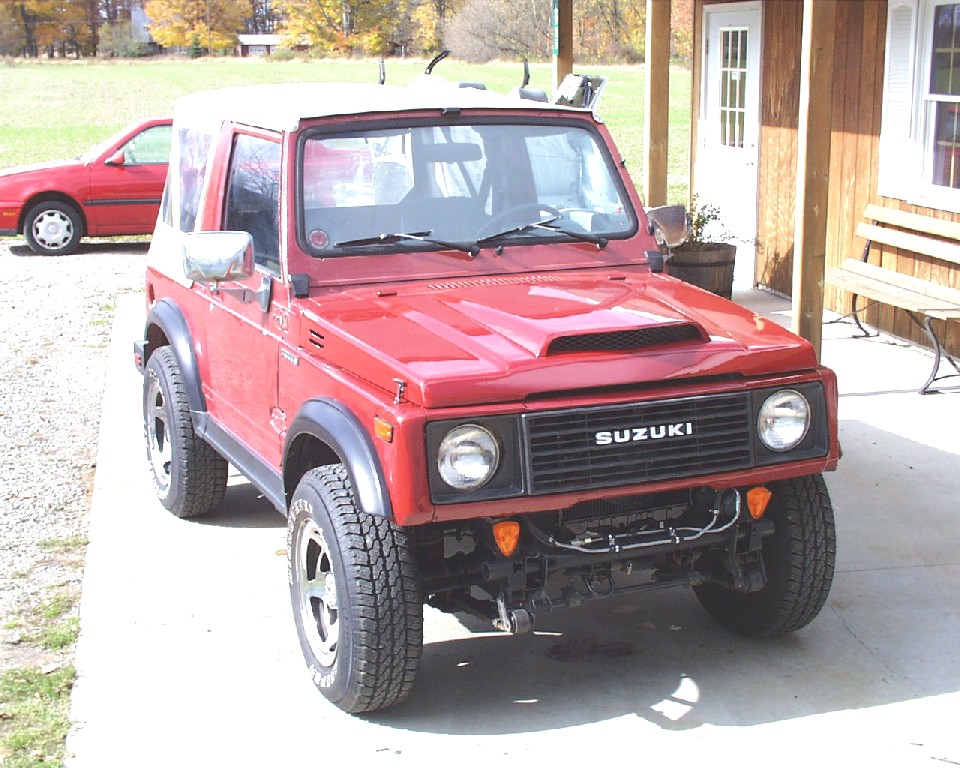
Started with a rust-free Arizona Riceburner....only 80K miles.....but it had had a close encounter with a tree in the right front corner.
9/28/01. Pretty well mocked up....and the EEC wiring is all made and all checks out.

 MAJOR tunnel modifications. This wouldn't have been necessary if I'd not
been so stubborn about not "lifting it up".....but I wanted it at
stock ride height.

 Hood's ugly. Just a junk one that I'm building the (functional) cold air
induction on, and making everything fit. Then I'll cut/fit/tranfer parts
to a new one.
 The SHORT intermediate driveshaft. Keep in mind that the crossmember and
the t-case mounts are mock-ups......just holding them in position. When
it's done, it won't be a bunch of scabbed together angle iron.
 Added airbags to the front suspension. Adjustable....and cheaper than new
springs.
10/02
 Here's the transmission crossmember (removable) and the new t-case mounts
locating it 8" back. And....yes....all this stuff will be ground off
nice and powdercoated when this thing is assembled for the last time. It
ain't all new steel, as you can note. I have a bad habit of designing in
my head....looking at *available* materials....and re-designing. Saves
money for important things like Budweiser.
 Note the t-case shifter position in reference to the original location....and
also note the (relocated about 4" back) e-brake lever. The e-brake
adjustor and the transfer case vent were attempting to live in the same
location. Fixed that.
10/09

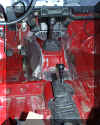
 Floorpan's done. As you can see, especially in the rear view....it's a LOT
wider. The shifter even ended up coming out in the stock location.
T/C shifter is back 8", and e-brake handle is back 6". The Mazda
5 speed is big (but hell for strong), and I allowed enough room to allow
transmission removal from the bottom, and/or the option of switching it to an
A4LD or an AOD automatic if I get lazy and tired of shifting. I'll lay
this up with one layer of unidirectional glass mat & resin and then blast it
with "box liner" stuff. One saving grace with this Sammy.
The red paint you see on the floor is ORIGINAL. Sure can tell it's an
Arizona truck and not some Michigan rustbucket...
 Couldn't resist. Hadda' "Blue Oval" laying around....got out the
heat gun....
10/12
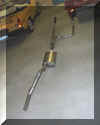 With
the help of a friend that owns a muffler shop, it has a single (hopefully fairly
quiet) exhaust the fits up in the frame. I was afraid I was gonna end up
with some sort of duals under the rockers.....2" back to the "wye"
and 2 1/2" from there back.
Update 10/19. It's fine running it easy....but lean on it, and it's waaaay loud. This will probably have to be redesigned at some juncture.
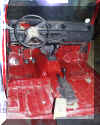
 Floor's finally done....sealed, laid up with mat & resin, and painted.
Note the bulge down low on the passenger side. That's to clear the pan
rail of the automatic I just might throw in down the road.

 Hood & (functional) cold air induction is in primer. Now all I need to
do is find a good hood, or ante up for a new one and transfer the parts. I
hate rusty, beat up stuff from Michigan salvage yards.....

 Oil pan's all done and sealed. Note the white in the "roughed-in
picture.....it's a hunk of a '99 Mercedes-Benz "S-Class" deck
lid. Good thing it's gonna be on the bottom where you can't see it.
Functional, but it ain't pretty.

 If everything goes *according to plan* this is the last time it'll look like
this.....and the last time that the engine/transmission assembly will reside on
the roller bench. Paint, grind. weld,, and generally make it look
civilized.
10/19
Well...it's pretty well done. Needs a front bumper (in the *design* stages...) and some minor de-bugging....but that comes with the territory with a project of this magnitude. At least I can drive it. Other than the addition of a bumper, this is as "pretty" as it gets until next spring.
To put it bluntly, it goes like hell. Big fun. LOTSA' low end torque, too. The exhaust is louder than I expected/wanted....it sounds like a swarm of angry bees when it's "on the pipe".
Much to my surprise, the stock Sammy radiator (with the addition of a Mercedes-Benz pusher fan) cools it fine. The fan is operated by the EEC (two speeds) as it was in it's prior life as a Taurus powerplant.
 Also....if you notice....the hood latch got eliminated due to the fact that the
radiator's on the stock mounts....but spaced ahead 1".
Here's how I did the clutch. This took a little imagination because it's ALL *select used* FoMoCo parts...and the Mazda transmission I used was never used with a mechanical clutch....so converting the (really convenient) Suzuki cable set-up was not an option.

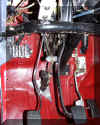 Believe it or not, the curved arm I added to the clutch pedal to operate the
master cylinder is the stock alternator adjustor bracket for the Sammy.
 The air filter assembly. I had to use the hood scoop to solve a throttle
body/IAC motor/air intake interference problem....and if it *had* to have a hood
scoop, it was gonna' be functional. The aluminum plate that the ('93
Escort) air filter case is mounted to (upside down) is now weatherstripped and
seals tightly to the underside of the hood right under the vent I cut in the
hood under the scoop (that's visible in one of the lower pics...). The
Escort airbox worked out well (the Taurus one was crushed big time..) and the
MAF for the 3.0 bolted right on in place of the one for the 1.9 Escort motor.
A sidenote. Cougar purists would absolutely shudder. The scoop I cut/butchered/revamped was a (pristine) original '69 Cougar "Eliminator" piece. Hideously rare. Probably was worth too much to cut up, but it was here and I needed something.
The Army-surplus cartridge box on the lh fenderwell houses the computer and diagnostic plugs. Weatherproof and convenient. Cheap, too....
First voyage under it's own power. This was R & D Experiment #1, "See If The Damned Thing Will Go Down The Road". Little drafty....it was about 40 degrees and raining.. It became evident that the driver will stay a lot drier with amenities like front fenders, doors, and a roof. Note the abundant use of zip ties: The EEC processor is tied to the master cylinder and the battery is a "jumper box" tied to the air filter assembly, which in turn has the (new) main fusebox and the EEC power relay tied to it. Also note the professionally mounted radiator overflow tank (utilizing vise-grips). These pics were taken directly before R & D Experiment #2, "Test Cooling System Efficiency", which consisted of putting it in the paintbooth with an exhaust hose hooked up, set paintbooth heating system on "incinerate", and let 'er idle for an hour or so. Passed both with flying colors.....
I know. The turn signals are really, really cheesy. But....they make it legal until I get a bumper built and put something on slightly more attractive.
I also know the paint doesn't match. Oh well.... Someday I'll paint the whole thing correctly....until then I'll live with sunfaded 15 year old Arizona paint and freshly applied urethane. A little mud, a little brush, and you'll never notice.
10/24

 Built the front bumper. It's mounted waaay solid....leaves the lower part
of the radiator with free air, and will hopefully somewhat protect the front
from brush/critters/etc. $78 worth of steel and labor on the metal break,
and about 3 hrs cutting/fitting/designing.
11/24/02 Scroll back up to the top picture. See those really neat, "Samurai-sized" rubber hood latches? Aren't they cool? Don't use 'em. Especially on a Sammy that'll run 70+ into the wind rather effortlessly on the highway. Bad ideer, Jethro.
Met a (big) truck. Resultant blast of wind made the hood come up....quickly. Extremely quickly. Spoiled the hood, spoiled the windshield and frame, spoiled the canvas top, and spoiled the underwear I was wearing at the time.
And....it was a cold ride home. Sleet/rain/snow with no top and no windshield sucks.
At least I gotta "parts" Sammy.......
06/03
If you notice....it still ain't painted....but it's got a folding windshield, fresh (marine) upholstery, a Davesport cage (that fit amazingly well!) and a set of half-doors that I made outta' an extra set I had laying around.
I could be persuaded to duplicate these doors if good, straight donor doors were supplied. They utilize stock latch assemblies, and the original inside handle is hidden under the top edge in the center. Outside door handle and lock cylinder areas are filled, and top surface is SOLID (.125 mild steel stock).
 EJ's jet engine was too big to fit in the Samurai. Driveshaft angles would
have been a bitch.